
.png)




Follow the steps below to schedule security awareness training (SAT). Training recipients will automatically be sent notification emails regarding their SAT enrollment, which will include links to their assigned modules and the completion date.
If new users are added to your M365 account, they will automatically be enrolled in SAT.
You can schedule security awareness training by going to Security Awareness Training > Overview or Security Awareness Training > SAT Campaigns. Click on Schedule SAT.
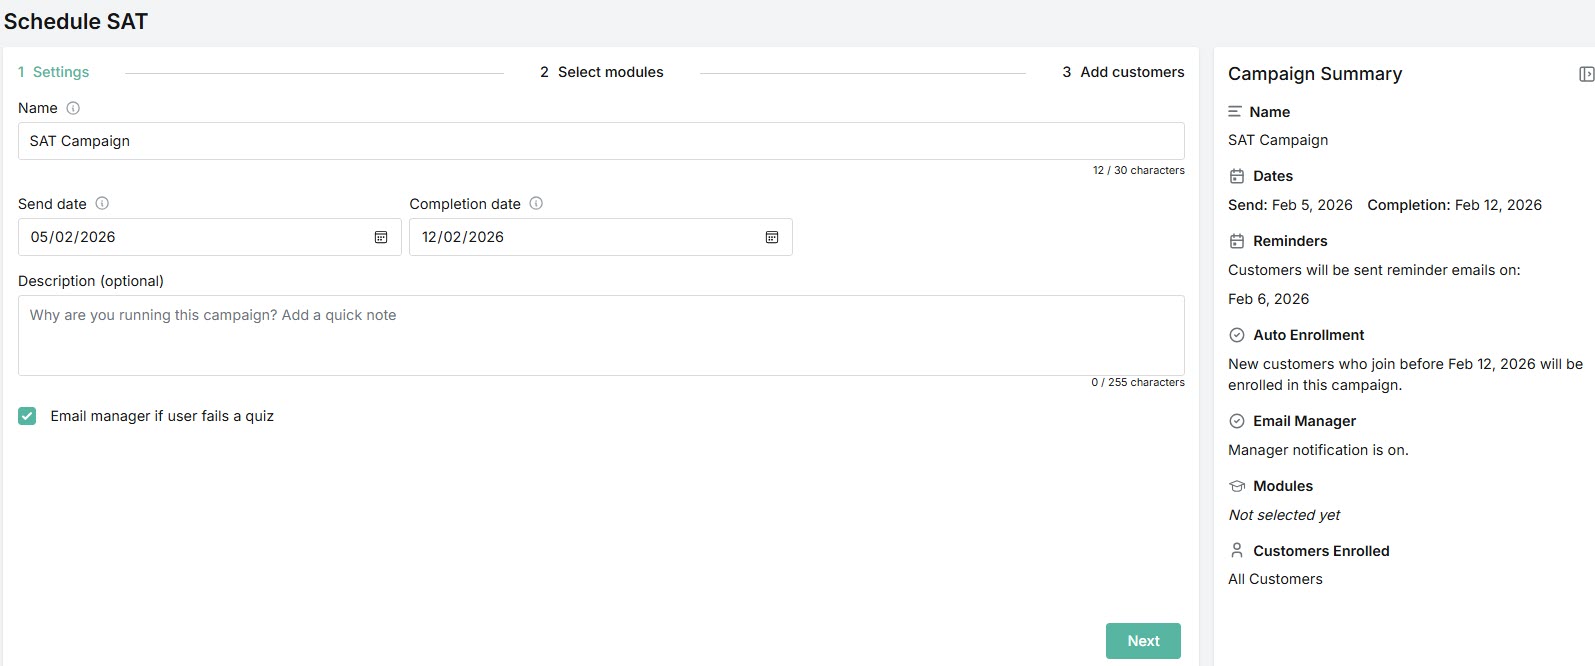
1. To create a SAT campaign, enter the following details:
Name: The name of the security awareness training campaign. A default name is given, which you can overwrite using a maximum of 30 characters.
Send Date: Date when users are enrolled and emails containing links to the campaign training modules are sent.
Completion Date: Date by which training must be completed by users. Following the completion date, users will no longer be able to access the training.
Description (optional): Short summary of the training.
Email manager if user fails a quiz (default: enabled): When checkbox is enabled, a user's manager will be notified if user fails a quiz or the module deadline has passed and user hasn't attempted the quiz. Deselect the checkbox to turn off email notification.
As you create a SAT campaign, a Campaign Summary panel on the right automatically updates the information.
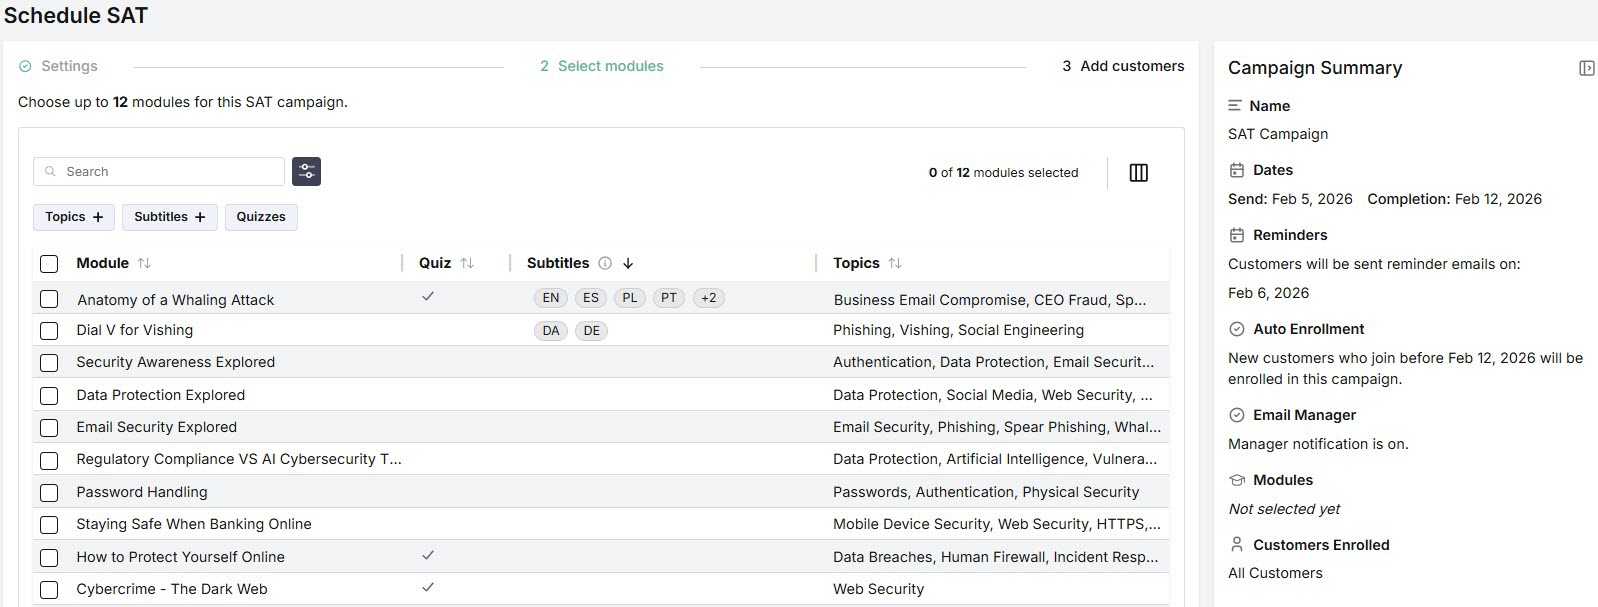
2. Select up to 12 training modules from the list to send to your recipients by selecting the checkbox or clicking on the row. Each module shows the following:
Quiz: If a module includes a quiz, a checkmark is included in this column. Assigning modules with quizzes means that at the end of the training module, the user is presented with a quiz and given three opportunities to pass the quiz. If the manager email notification setting is enabled, then the user's manager will be notified if the user fails the quiz on the third attempt or if the module deadline passes without the user attempting the quiz.
Subtitles: If a module has subtitles, the languages available are shown in this column. Assigning training modules with subtitles enables users to view the training in the languages available. Hover over each language icon to view language name.
Topics: Names of topics that are covered in the training. For example, Staying Safe When Using Social Media covers Human Firewall, Social Engineering, Social Media, and Web Security topics.
You can manage how the table is displayed as follows:
Use the search box to search terms used in both the Module and Topics columns.
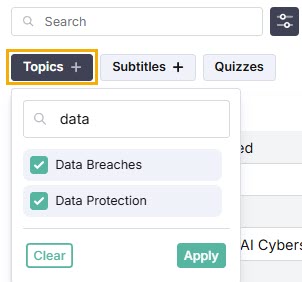
Click on the filters icon to quickly search and apply filters based on Topics, Subtitles, and Quizzes.
Click on the column icon to manage how table columns are displayed. By default, all columns are visible and arranged in a specific order. You can change the display by doing the following:
Select or deselect the checkbox next to a column name to show or hide a column.
Use the reordering icon to move columns to different positions. Click on Reset Order to restore the columns to their default positions.
Resize columns by hovering your cursor over the column boundary you want to adjust until it becomes a resize cursor. Drag the boundary until the column is the width you want.
Click on the up/down arrows in the column headers to sort column content.
3. Select the customers you want to enroll in the SAT module. The default option is All Customers.
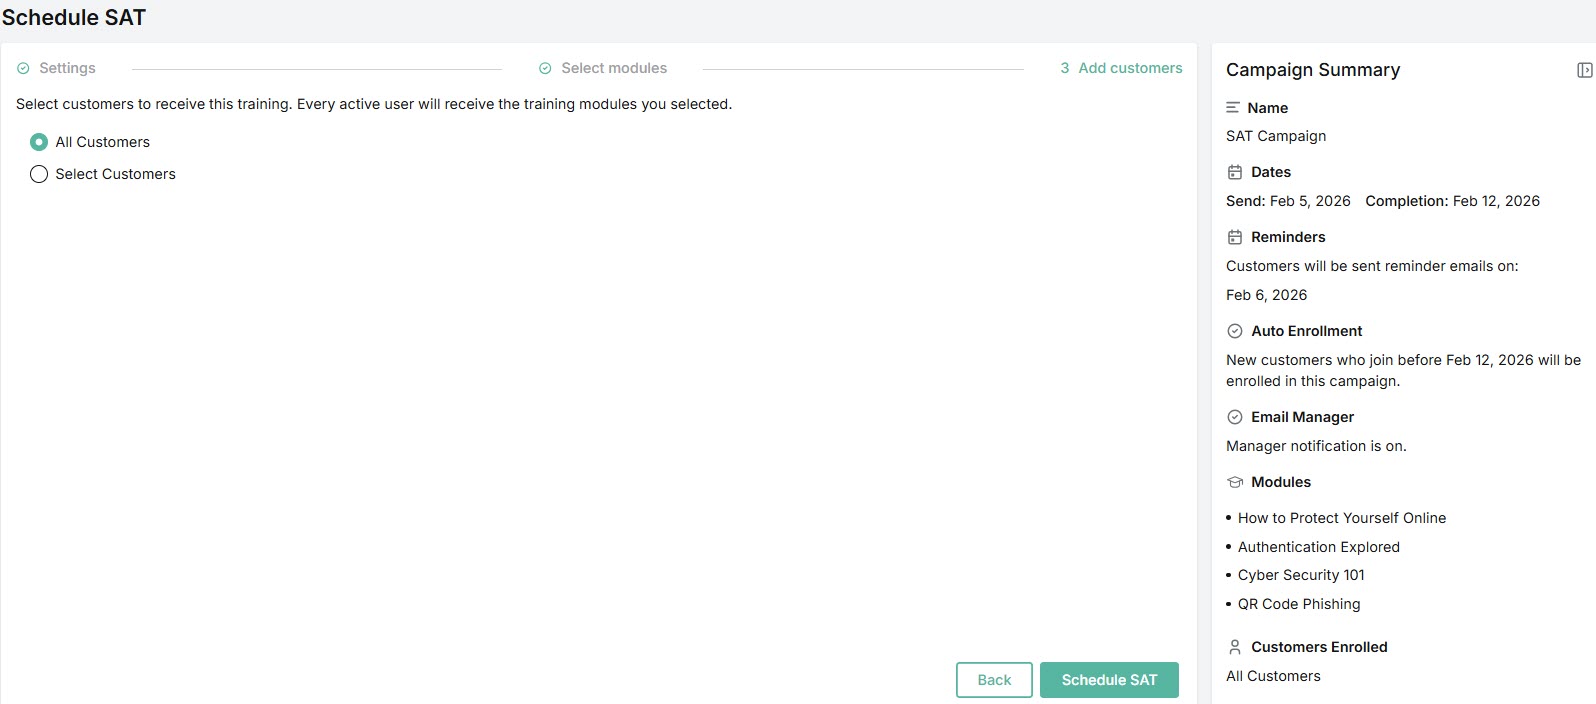
If you want to select specific customers, choose Select Customers and a list of your customers will appear. Select the checkbox(es) for the corresponding customer(s) or just click on the row(s). Note that only licensed customers are displayed.
4. Click on Schedule SAT. The newly scheduled training will appear in your SAT Campaigns table.
 1.png)